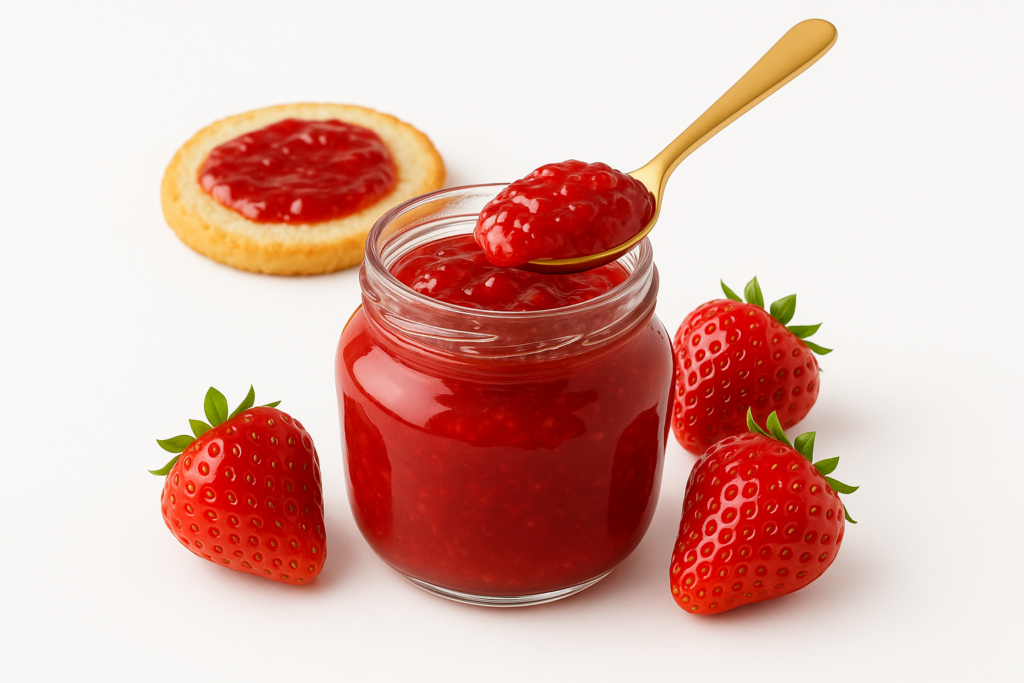
Making strawberry jam at home takes a few ingredients and basic cooking steps. You don’t need pectin, special tools, or advanced skills. This method works with regular kitchen gear and fresh or frozen strawberries. The recipe uses strawberries, sugar, and lemon juice. Cooking breaks the fruit down, sugar thickens it, and lemon helps preserve the color and taste. Stir regularly, check for thickness, and store it in clean jars. This jam can be used on toast, in baking, or mixed into plain yogurt. The process takes under an hour and stores well in the fridge or freezer.
Hey, ready to whip up some sweet strawberry jam? Before you dive into this recipe, let’s make your cooking life a breeze. ReciMe’s recipe organizer app lets you save this jam recipe (and tons more!) right on your phone, plus create instant grocery lists sorted by aisle. It’s your kitchen sidekick for stress-free cooking. Download ReciMe now and let’s cook!

Ingredients
- 1 pound (450g) fresh strawberries, hulled and chopped
- 1 cup (200 g) granulated sugar
- 2 tablespoons lemon juice

Cooking Method
1. Prepare the Strawberries
Wash the strawberries thoroughly under running water. Remove the green stems and any bruised or damaged parts. Cut larger berries into halves or quarters and crush slightly to yield about 2 cups of chopped or crushed strawberries.
If using frozen strawberries, thaw completely and include their liquid when measuring 2 cups of crushed fruit.
2. Combine Ingredients
Place the chopped strawberries, sugar, and lemon juice into a heavy-bottomed saucepan. Stir the mixture to combine all ingredients evenly. Let it sit for about 15-30 minutes at room temperature to allow the strawberries to release some of their juices.
3. Cook the Jam
Set the saucepan over medium heat. Stir continuously until the sugar has completely dissolved. Increase the heat to medium-high and bring the mixture to a rolling boil.
Once boiling, reduce the heat to medium. Continue to simmer the mixture, stirring frequently and gently mashing the strawberries with a spoon or potato masher to achieve the desired consistency. Cook until the jam reaches 220°F (105°C) or passes the plate test (see Step 4), approximately 15 to 20 minutes.
4. Test for Doneness
Before starting, place a small plate in the freezer for 10 minutes. To check if the jam has set, place a small amount on the chilled plate. Let it sit for a minute, then run your finger through it. If the surface wrinkles and doesn’t flow back together, the jam is ready. If not, continue cooking for a few more minutes and test again.
5. Cool and Store
Remove the saucepan from heat and let the jam cool slightly. Transfer the jam into clean, sterilized jars, leaving ½ inch of headspace. Allow it to cool to room temperature before sealing the jars. Store the jam in the refrigerator for up to 3 weeks or freeze for up to 6 months (leave 1 inch of headspace for freezing to allow expansion).
Conclusion
Making strawberry jam at home is way easier than most people think. With just a few ingredients and about half an hour of your time, you get a jar full of something that actually tastes like strawberries not just sugar. It’s also flexible.
You can leave the fruit chunky or mash it smooth, make it a little tart or a bit sweeter, and use it for more than just toast try it on yogurt, pancakes, or even as a filling for desserts. Once you try making your own, you’ll probably stop buying the store stuff. It’s fresher, more flavorful, and you know exactly what’s in it.
